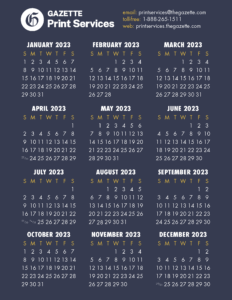
In printing, bleed is the printed area that extends past where the printed sheet is trimmed. Since most printers cannot print edge to edge, graphic designers must compensate by adding bleed to their print files or leave a safe margin of white space around the edge of their design. Below are two examples of designs that incorporate bleed.
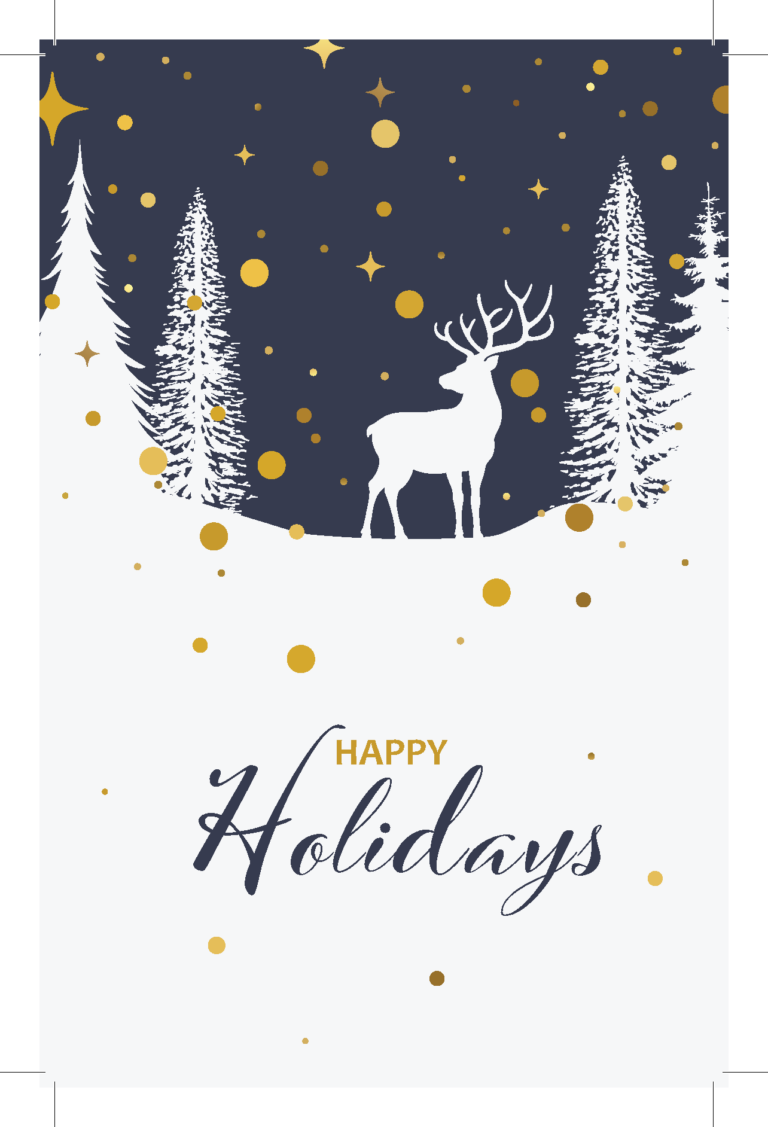
In the example above you can see that the design element go all the way to the edge. Now let’s take a look at what the print files look like for both these designs. Below are the print files that were used during production.
Note how the graphics extend past the crop/trim marks. This extra space allows for subtle shifts in the position of the artwork on the paper as well as shifting of the paper during trimming. Without this bleed, you risk having a tiny sliver of unprinted white paper between your design and the edge of the paper which diminishes the quality of your finished product.
How much bleed do you need?
We recommend a minimum of .125″ around all four sides for most projects. If your project is a stitch and trim booklet with 50 or more pages, you might consider adding as much as .5″ of bleed to compensate for page creep.
How do I setup my artwork with a bleed?
There are many different programs available on the market today that you can use to create a print ready file. We recommend Adobe InDesign. Below is a video on how to setup your file with bleed in Adobe InDesign CC.